Mobile Photography Techniques: 5 Tips to Improve Your Photos
Forget Auto Mode: Master Mobile Photography Techniques
Do you think you need a professional camera to take stunning photos? Think again. Your smartphone already has a powerful camera sensor; what you’re missing is a solid understanding of composition and framing. In fact, mastering just five mobile photography techniques can transform your shots from ordinary to extraordinary, without requiring professional skills. So, these simple tricks can help you achieve amazing results.
Below, we’ll walk you through the fundamentals professionals use to help you start taking photos you’ll want to print.
Technique 1: The Rule of Thirds for Mobile Photography
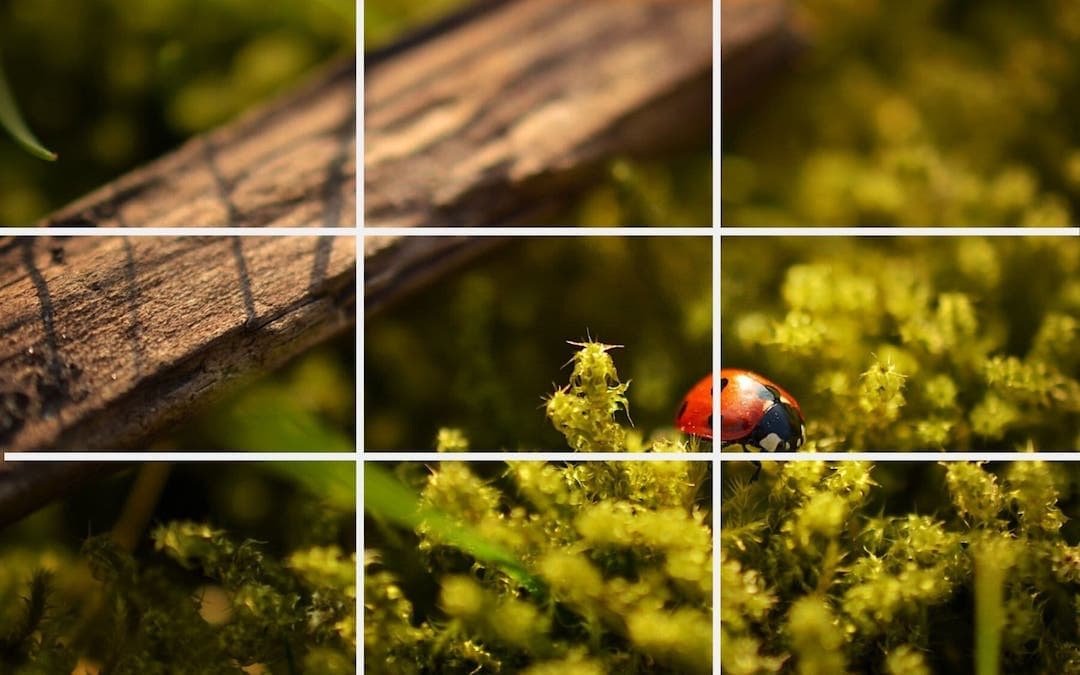
The Rule of Thirds is the most fundamental of all mobile photography techniques. Essentially, it involves dividing your image into nine equal sections and placing the key elements at the intersections of those lines.
How do you apply it? Go to your camera settings and turn on the grid. Then, align the horizon or your subject’s face with one of the lines or intersections. This is important because it adds balance and visual interest to your photo. Plus, it naturally draws the viewer’s eye to the focal point.
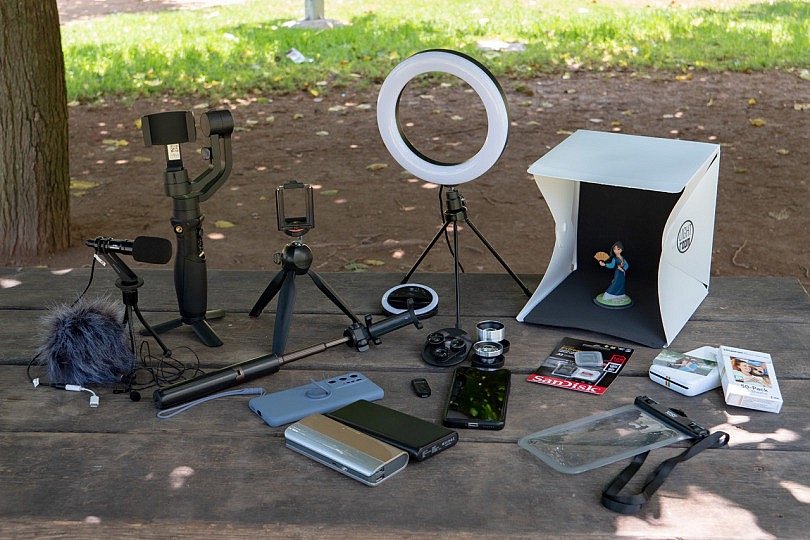
If you want to take the precision of your photos to the next level, consider using a tripod or stand. Check out this accessories guide.
Technique 2: Use Negative Space
This mobile photography technique involves leaving most of the frame empty (sky, walls, water) to highlight a small subject. By doing this, you reduce visual distractions and give your subject a sense of isolation or minimalism. However, make sure your subject is perfectly in focus.
Technique 3: Depth of Field with Your Smartphone Camera
Depth of field is the effect that blurs the background (bokeh) while keeping your foreground subject in sharp focus. While iPhones and Android devices have automatic Portrait modes, you can improve this mobile photography technique by making sure the background is as far away from your subject as possible.
To improve the smoothness of your movements and reduce camera shake in your shots, check out our guide on using a Smartphone Video Stabilizer.
Technique 4: Using Natural Light in Mobile Photography
Light isn’t just about brightness; it’s a key element of mobile photography techniques. Remember that the best light is soft natural light, such as in the morning or late afternoon during the famous “golden hour.” As a result, you should avoid taking photos under the harsh midday sun, as it can create strong shadows and overexposed faces.
Technique 5: Symmetry and Patterns in Mobile Photography
Look for repeating patterns (architecture, tiles, windows) and use symmetry to create a striking effect. By using these mobile photography techniques, place the line of symmetry in the center of your frame. Ultimately, this will help you create balanced, eye-catching photos.
For an advanced guide on using lighting in video recording, check out this video lighting guide.
Take Your Photography to the Next Level with Gizter Accessories!
Once you’ve mastered these mobile photography techniques, the only limit is your gear. So, if you want to expand your creative possibilities, we recommend visiting our Accessories section.
Transform your photos today! Visit Gizter’s Photography Accessories section and find the perfect tripod, phone mount, or stabilizer to put these techniques into practice.